Open Offset Path added to ToolShed
Have you ever needed to offset an open path in Adobe Illustrator and after running Illustrator’s Object > Path > Offset Path… function, needed to clean up a lot of extra paths? It happens to me, too, several times a day, sometimes several times per hour. Or at least it used to!
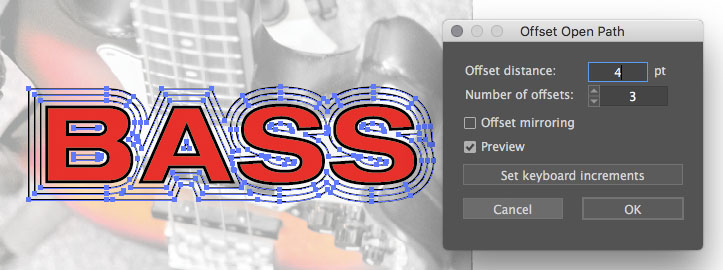
The ToolShed plugin now includes a menu item Object > Offset Open Path… that lets you offset an open path with another open path, just as it did through about version 6, and on nearly all other illustration or CAD software. Create additional offset paths by increasing the “Number of offsets” and see the result of your settings with the help of a live preview before you commit to the changes. Fine tune your values by pressing the arrow up or down keys along with shift, Alt/Option, and Ctl/Cmd modifiers for larger or finer steps. You can even customize the values of those steps to save in your preferences, working in points, mm, inches, whatever your preferred measurement among Illustrator’s options.
There’s even an option to choose “Offset mirroring” to add offset paths to both sides of a path.
 For even quicker results, try the Path Offset tool to drag an equidistant path and use the up and down arrows to add intermediate steps or Alt/Option to mirror offsets to both sides of a path. If the modifier keys are too cumbersome to remember, optional context-sensitive help text following the cursor can remind you of your options.
It also works on closed paths, so it can serve as your all-purpose path offset tool. Of course, this is in addition to the six other functions already bundled in ToolShed at the same insanely low price!
It’s only $15 for an individual license for all tools in the ToolShed plugin, or free for Productivity Pack licenses.
![]()
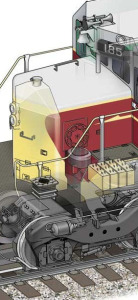 Isometric or axonometric artists
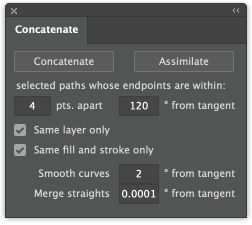 When concatenating a number of straight paths placed end-to-end, there’s often no need to keep the anchor points that once separated them. It’s also often worth simplifying the path just a little to reduce the number of anchor points. This is especially true if you plan to edit the path afterward. Now Concatenate for Adobe Illustrator CS6 and CC has been upgraded to version 16.1.5 with a setting for merging these straight segments. Even a very small value such as the default of 0.0001 (one 10,000th of a degree) will remove points when combining straight paths that were cut and rejoined. For the most hands-off handling of paths when concatenating, just enter 0 in the settings for curves and straights. This update is recommended for all users.