ToolShed adds Bracket tool, plus free Replace Art and Bust-Up-Paragraphs functions
ToolShed has added three new items, all of which are FREE.
Replace with Top Object
The first new item is a function to replace selected art with a different art object. For example, say you have six blue circles that you want to replace with gold stars. Make sure that the star is the topmost object, located above the others in the layer panel.
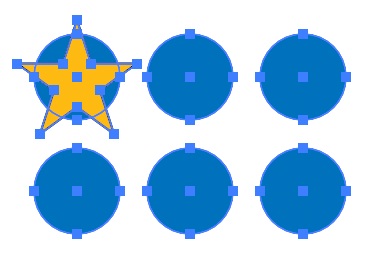
Select the menu item Object > Replace with Top Object. The blue circles will be replaced with gold stars, like this:

Here you see six stars, but in the Layers panel, there are seven. What’s up with that?
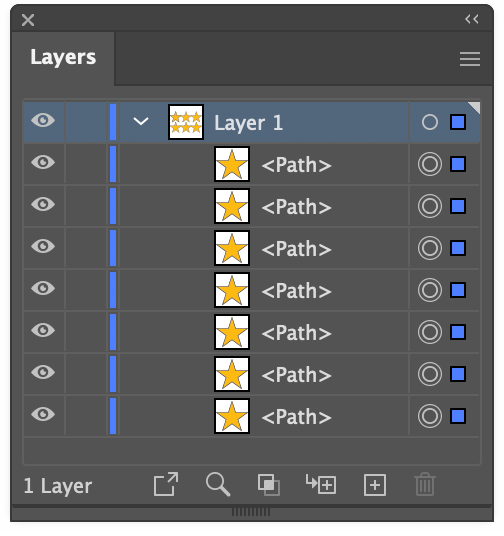
The star was identified as the reference art, and the six circles below it became target art. Each target object was replaced, so you now have a duplicate star under the original reference art. Your reference art could be something used in some other part of your illustration, so this behavior is often useful. This time, however, press Alt or Option as you select the menu item, and the reference art will be deleted after all substitutions have been made. The new art will be positioned centered over the target art.
This menu item is FREE, no activation required.
Bust Up Paragraphs
We quite often have a text file with a list of callouts or labels to add to an illustration. We can re-type them in Illustrator, copy and paste each item one at a time, or paste the text into Illustrator and run a script to separate each line into individual point text objects. I wrote an AppleScript for this about 30 years ago (really) and later made an InDesign version for my colleagues doing page design. I’m guessing it’s probably not too soon 😉 to incorporate this into a plugin menu item. If you select one or more text objects, either point text or area text, it will divide them into several point text objects which you can then move individually as needed.
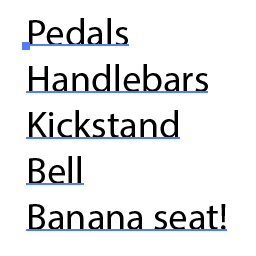
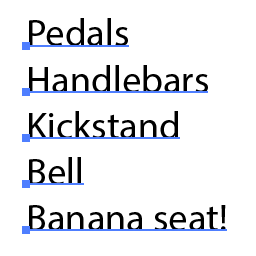
Paragraph alignment, paragraph styles, character styles, and character formatting are supported.
This menu item is FREE, no activation required.
Bracket tool
![]() This one could have been called a “Brace” tool, but that could be taken in other ways.
This one could have been called a “Brace” tool, but that could be taken in other ways.
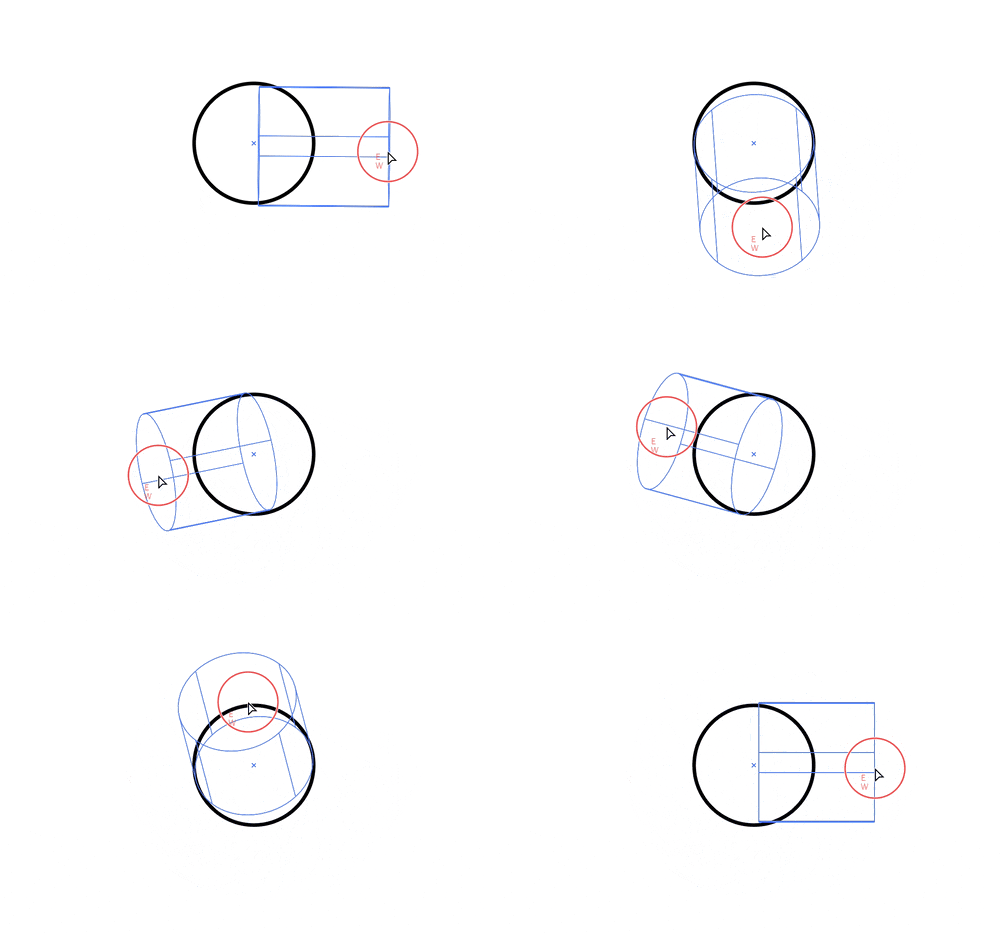
For way too long, I’d made these braces/brackets by separating the four bezier curves of a circle and rearranging them as needed. Now ToolShed has a tool that does essentially that same process. Just select the tool and drag to create it to the size you need.

As you drag, you can hold the Alt/Option key to flip it the opposite direction, and/or Shift to constrain it to the nearest 45° angle. Your curve radius is displayed in the on-screen help text, but you can adjust it dynamically by pressing the Up/Down keys. The increments it uses, in combination with Shift and Alt/Option, can be set in ToolShed’s Preferences. There you can also set the default stroke width for this path, as well as the Radiant and Latitude Lines that ToolShed draws. That dialog can be called in the same menu area as other Illustrator and plugin preferences, or by double-clicking the Bracket tool.
This tool is FREE, no activation required.
You can download the free update to ToolShed now. It’s available for Adobe Illustrator CC 2019 through 2023, for Windows and Mac (Apple processor support for 2022-23).
![]()


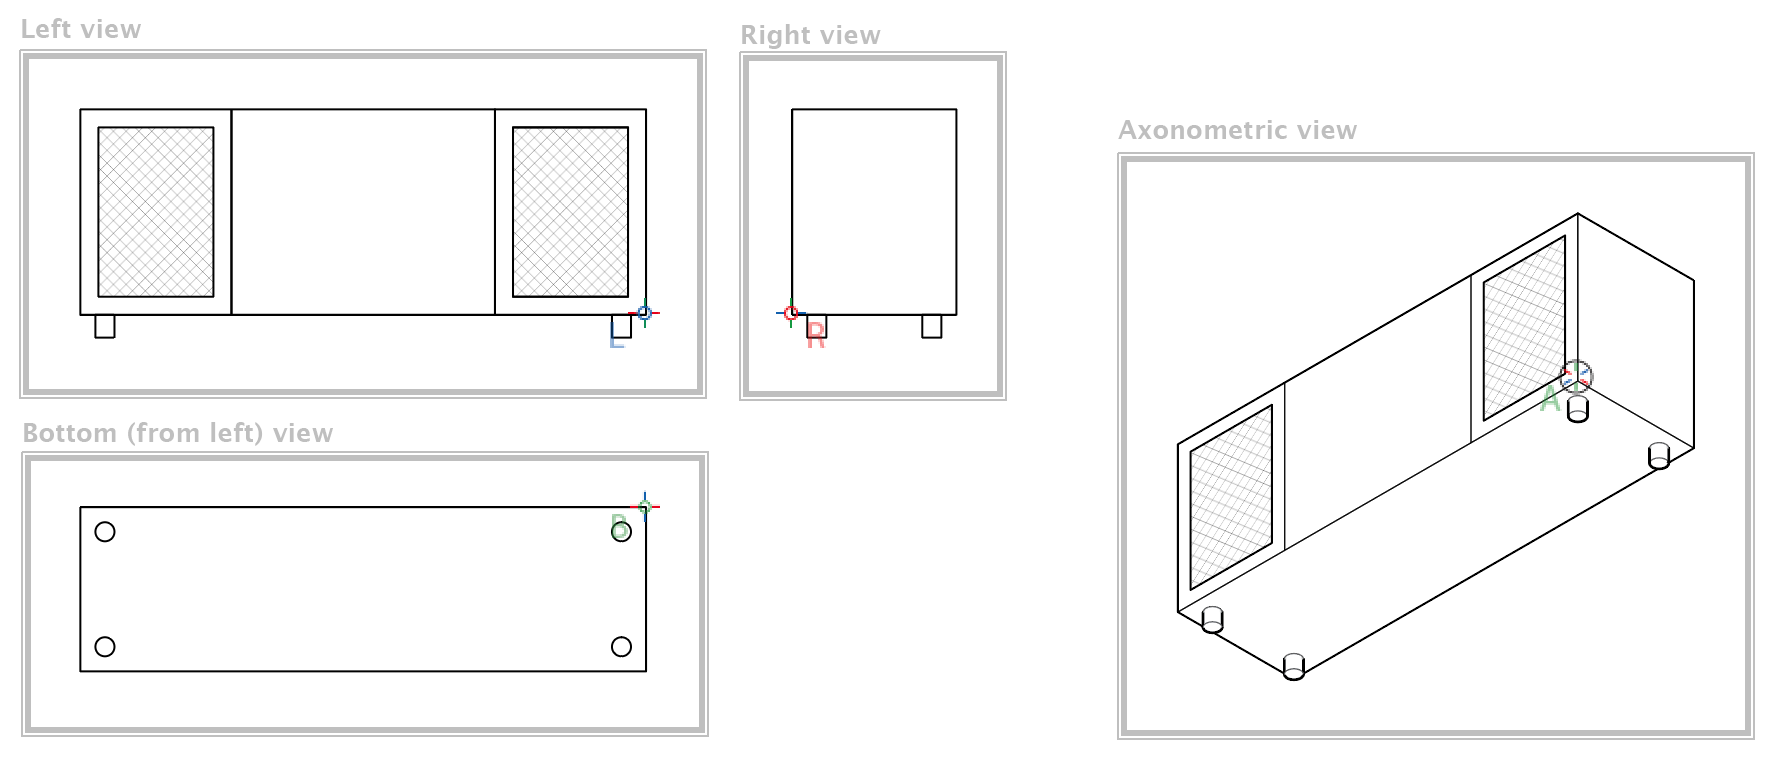
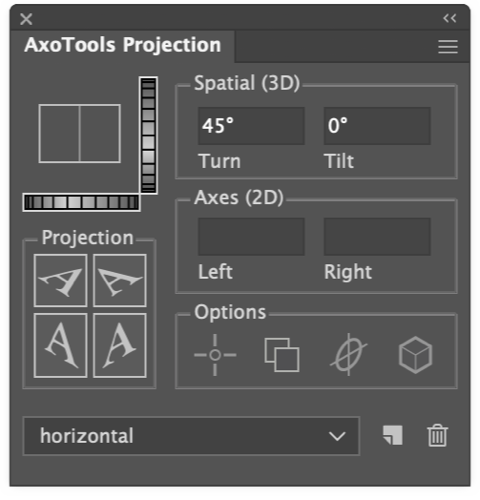
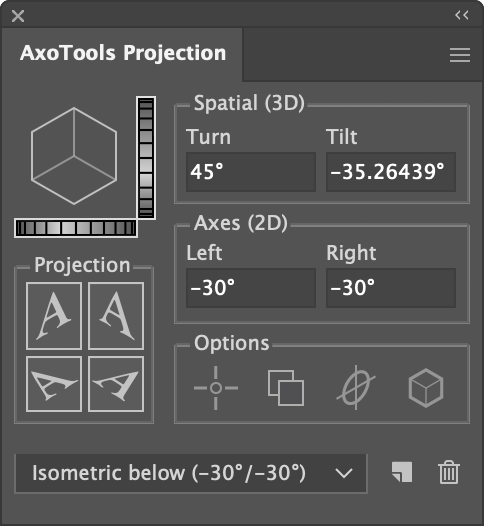 If you adjust the Tilt value of your projections using the dial control to the right of the proxy cube image, you’ve possibly found that it now allows you to tilt far enough to show the bottom of the cube. You could also just enter negative values for the left and right axes, or a negative Tilt value.