AxoTools adds tools for arcs, ellipses, and rectangles
AxoTools 23.1.2 adds three new tools to create axonometric arcs, ellipses, and rectangles. Each tool draws directly on either the left, right, or top axonometric plane, or can be created numerically with a dialog box. As with many other tools in the AxoTools plugin, tap the Alt or Option key to toggle between different planes. dimensions will be scaled and formatted according to the new Preferences settings for the document
 Axo Arc tool
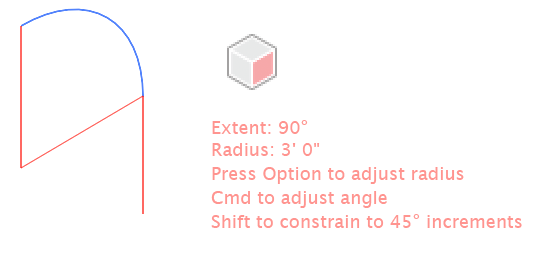 As you drag with the Axo Arc tool, the arc will appear highlighted. You can drag the arc forward or backward, left or right. Guide lines will appear to show the location of the arc center as well as a tangent line of the arc’s exit angle. If your preferences select Help text, the tool will also display the current arc’s extent angle and radius.
As you drag, press the Alt or Option key to adjust a fixed radius, or press the Ctl or Cmd key to change the arc’s starting angle. Press the shift key to constrain the arc’s extent to increments of 45°.
Click with the tool to display a dialog box to create an arc numerically. The Start angle represents the angle before projecting the arc to its axonometric plane, so you won’t need to hassle with converting angles on the screen to simple flat art. For example, a Start angle of 0° in the dialog would be drawn at 30° in an isometric top or right side view, and a 90° extent makes a quarter of a circle, regardless of the angles on the screen. Here, too, you can specify the radius of the arc with dimensions given in units you specify, such as feet or meters, and scaled to the current document ratio defined in your AxoTools preferences. Finally, choose whether the arc should curve to the left or to the right.

 Axo Ellipse tool
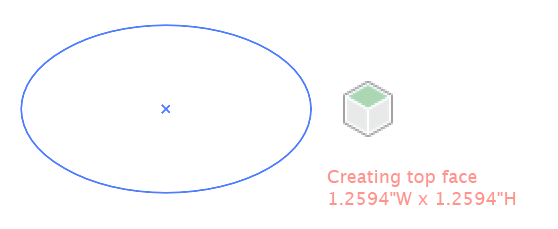 As you drag with the Axo Ellipse tool, the ellipse will appear projected onto your current axonometric plane. If your preferences select Help text, the tool will also display the current width and height using the units specified in your preferences and scaled to your document scale.
As you drag, press the Alt or Option key to anchor the ellipse at its center point. Press the shift key to constrain the ellipse to a circle.
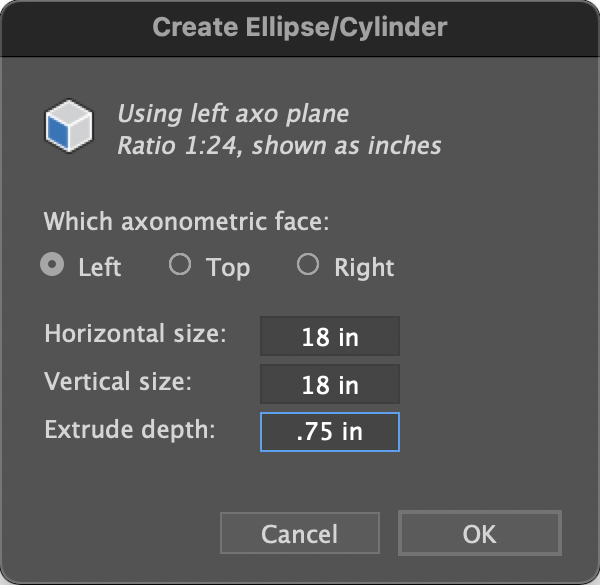
Click with the tool to display a dialog box to create an ellipse numerically. Enter a height and width, which will be scaled according to the document scale in your preferences. You can also enter a depth to extrude the ellipse to create a cylinder. Stroke widths and shaded fills will be adjusted according to your Axo Draw settings if you have that options set in your preferences.
 Axo Rectangle tool
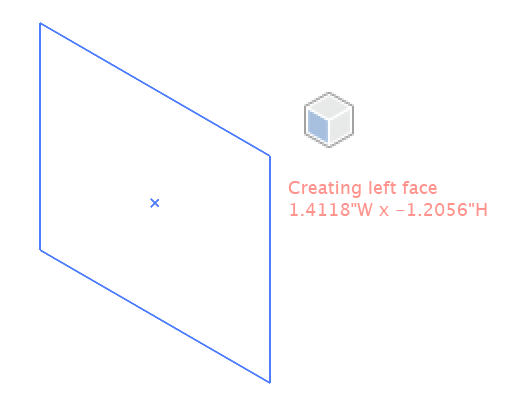 The Axo Rectangle tool works similar to the Axo Ellipse tool, except that it draws a rectangle. Like the Axo Ellipse tool, pressing the Shift or Alt/Option keys work as they do in Adobe Illustrator’s built-in Ellipse or Rectangle tools, only the art is drawn on an axonometric plane.
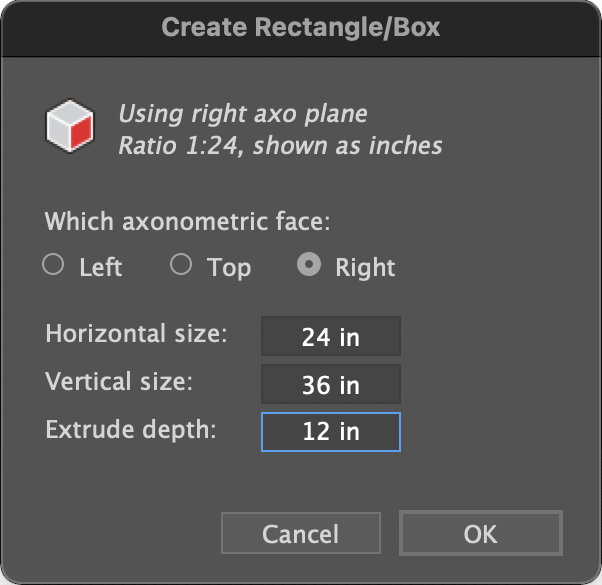
Click with the tool to display a dialog box to create a rectangle numerically. Enter a height and width, which will be scaled according to the document scale in your preferences. You can also enter a depth value to extrude the ellipse to create a box. It can be styled according to your Axo Draw settings and preferences settings.
These three tools have been among the most requested features, so it’s exciting to now make them available. Tutorial videos will be coming to demonstrate how to use them.
