This page is under construction. Please check back again later.
Go back to AxoTools documentationJumping in
You will get more out of AxoTools by at least skimming through this page, but if you’re inclined to jump right in and put AxoTools to work right away, here is a good place to start.
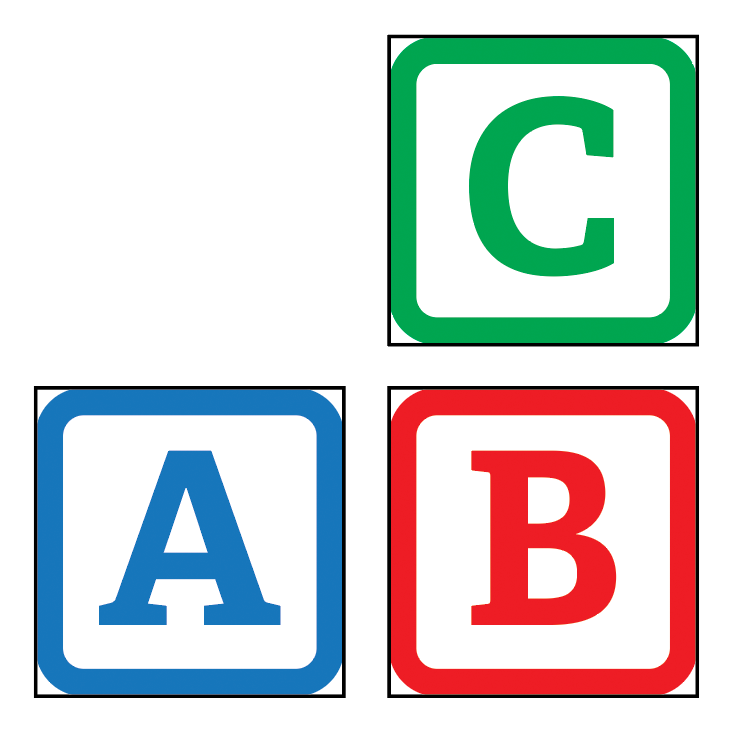
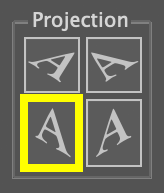
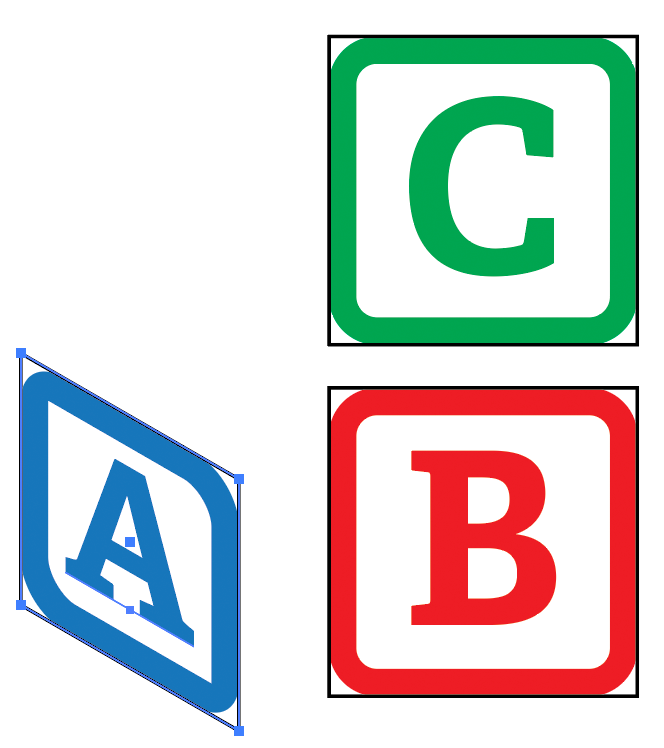
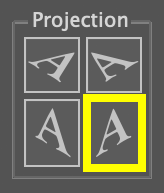
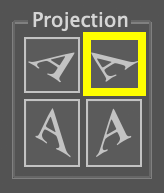
In the Projection panel you’ll find these four buttons. Click one of them to project selected art to a top or side face of your axonometric/isometric view.
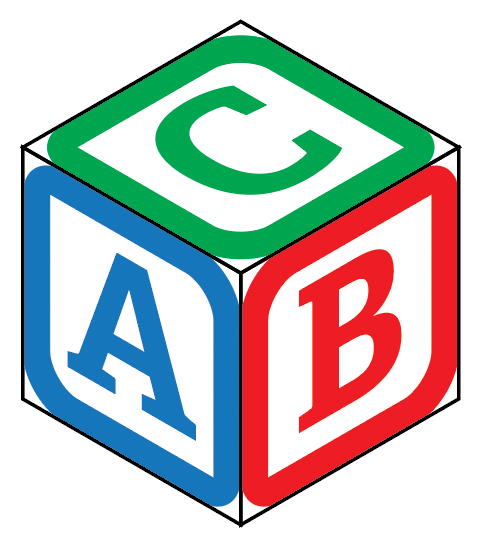
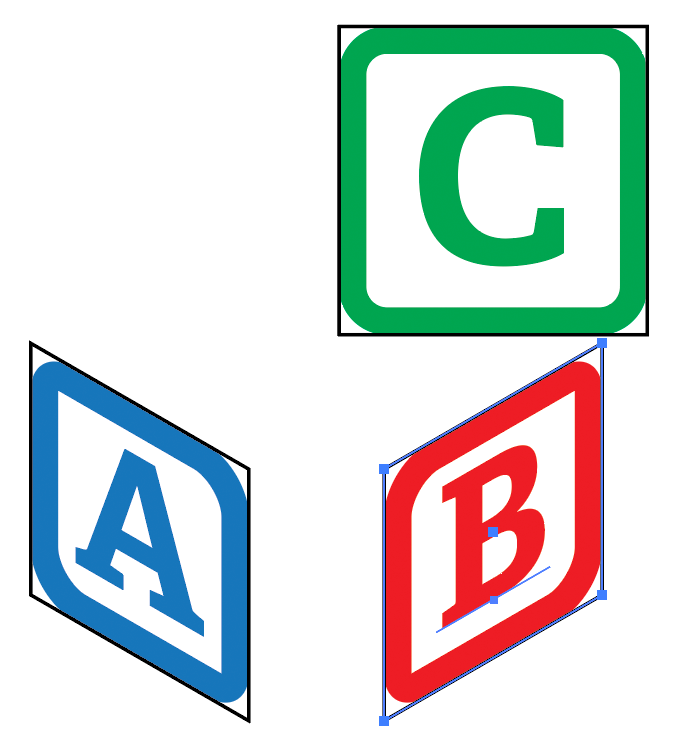
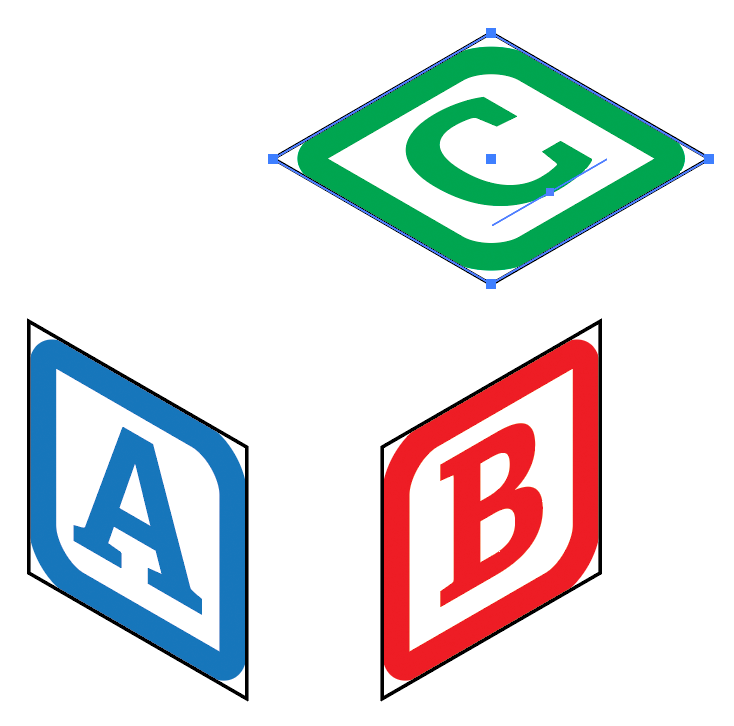
Move the art to “assemble” the objects. There is much, much more, but if this is all you need, you can stop here and return if you’re curious later.
Installing AxoTools
Download and install AxoTools as described in the Support area’s Frequently-asked-questions area.
Note that you can try AxoTools for free before purchasing. You are allowed 1,000 free uses before the demo mode expires. After the trial period, some features will continue to work for free, including the Axo Line tool, Axo Arc tool, Axo Measure tool, and creation of axonometric cube or cylinder primitives.
Simple is OK!
You need not use every tool or every panel to benefit from AxoTools. They are there if you need them, but can be kept out of the way if you don’t.
Video tutorials
If you want to learn by watching video demonstrations, check out these videos available on YouTube.
AxoTools Basics
AxoTools Advanced Features
Project a drawing to isometric
Projections
Off the Grid
Line weights
Draw settings
AxoTools essentials
Projection panel
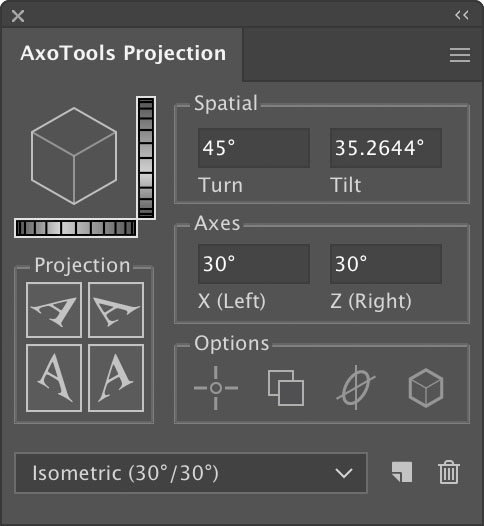
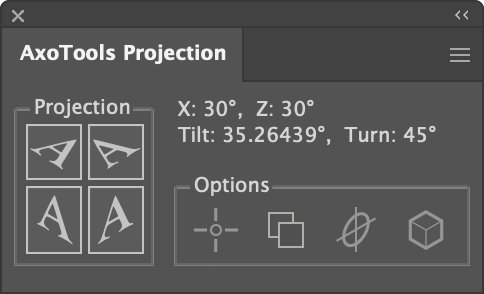
The heart of AxoTools is its Projection panel. If you do not see it, select the menu item Window > AxoTools > AxoTools Projection.
The controls on the top half of the panel, along with the menu at the bottom, define the orientation of the art we project. For now, we will stay with the default isometric view and are only interested in the four Projection buttons.
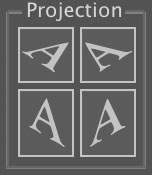
The variations of the letter “A” indicate how flat art will be projected when that button is clicked. When you hover your cursor over a button, a tool tip will appear explaining what that button does.
 There are also four icons in the lower right that enable certain behaviors as we project art. For now, leave them all unselected as shown here.
Tip: Simplifying the panel
If you do not need to change the angles of the projection, you can hide some controls and work with a smaller, simplified panel. In the flyout menu in the upper right, choose “Panel compact view.”
![]()
Use the AxoTools control bar to display only the most essential controls.
AxoTools workspace
 AxoTools adds several tools, divided into three groups. Adobe Illustrator does not always show tools in new plugins you add, so if they seem to be missing, follow Adobe’s instructions here in the “Add and remove tools” section.
Click and hold on a tool to see the other tools in that group.
There are also menu items that add functions for axonometric drawing. Again, you will likely never need all of them, so take your time in getting to know any that look useful to you.
![]() AxoTools includes several panels, some of which you may rarely or never use. You can select them from Illustrator’s Window menu as needed, then close them, or click on the << symbol in the upper right corner to collapse them to icons. They can then be docked and quickly opened with a click as needed.
AxoTools includes several panels, some of which you may rarely or never use. You can select them from Illustrator’s Window menu as needed, then close them, or click on the << symbol in the upper right corner to collapse them to icons. They can then be docked and quickly opened with a click as needed.
One essential panel, however, is the Projection panel described below. This is probably the only one you’ll want to keep open, and is likely the only one you regularly use.
Important terms
Orthographic: Flat views, such as left, right, or top. Blueprints are typically orthographic.
Axonometric: Projected views where left, right, and top planes are all visible. Isometric is an axonometric view with axis angles of 30° and -30° from the horizon.

