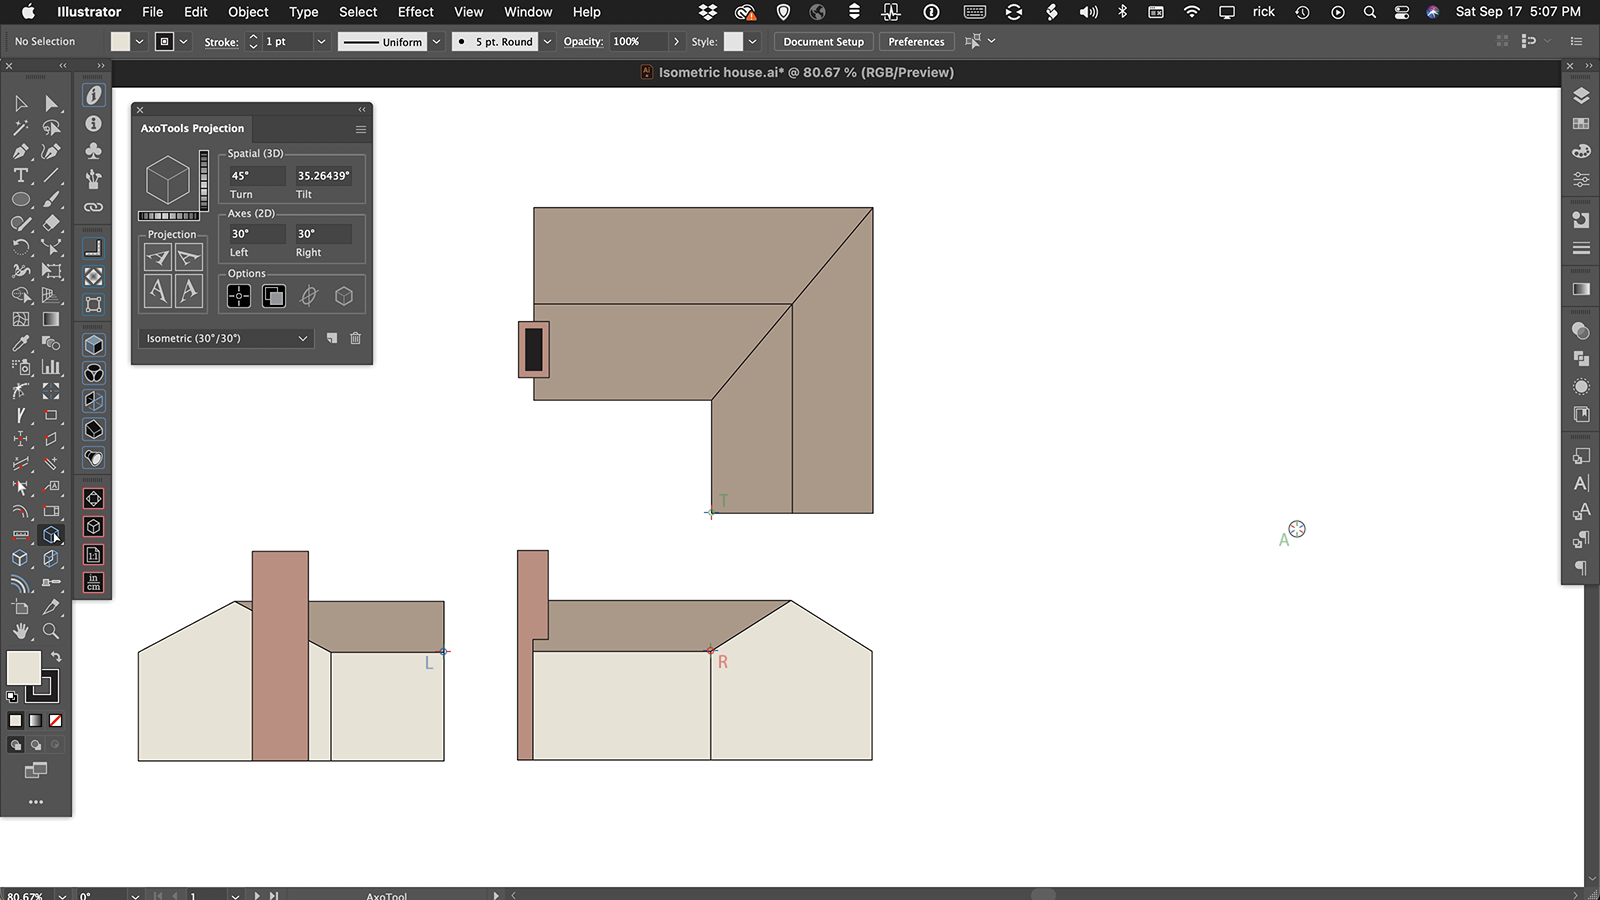
Download the project file (saved for AI CC 2019) to follow along with the step-by-step instructions to project and extrude the three orthographic views to isometric as shown in the Quick Tips #2 video on projecting to isometric.
Prepare the reference points
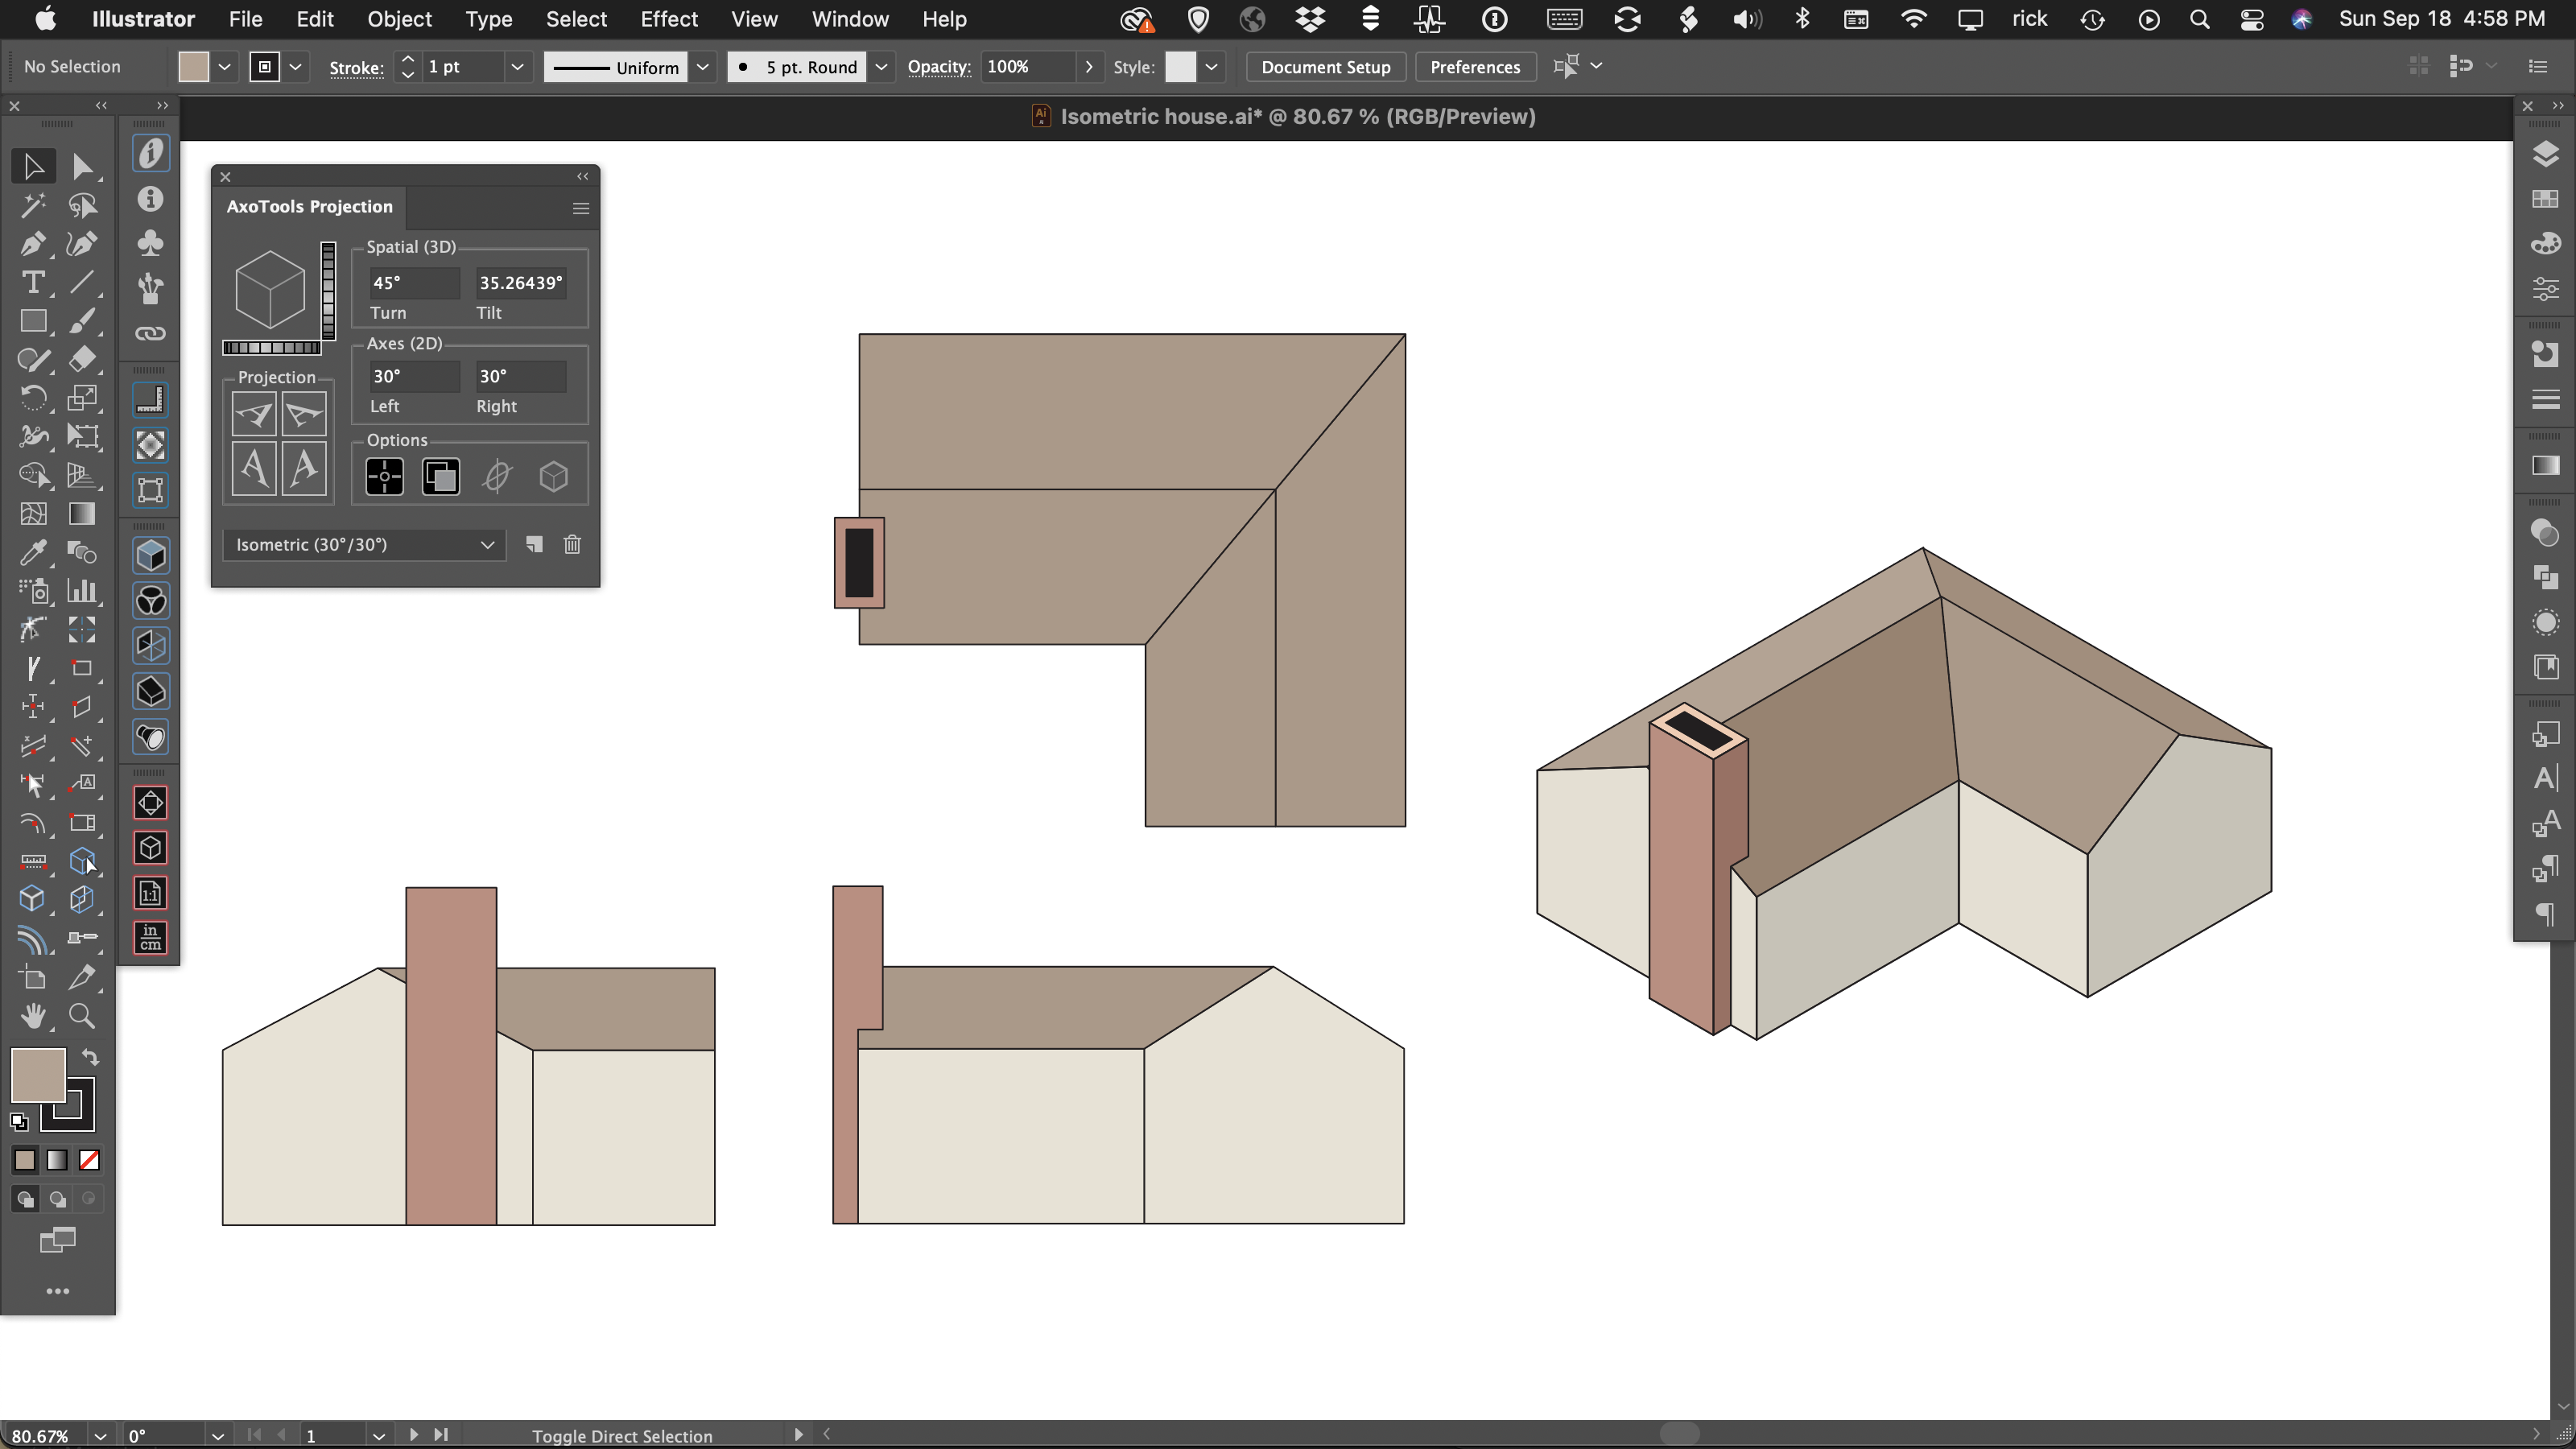
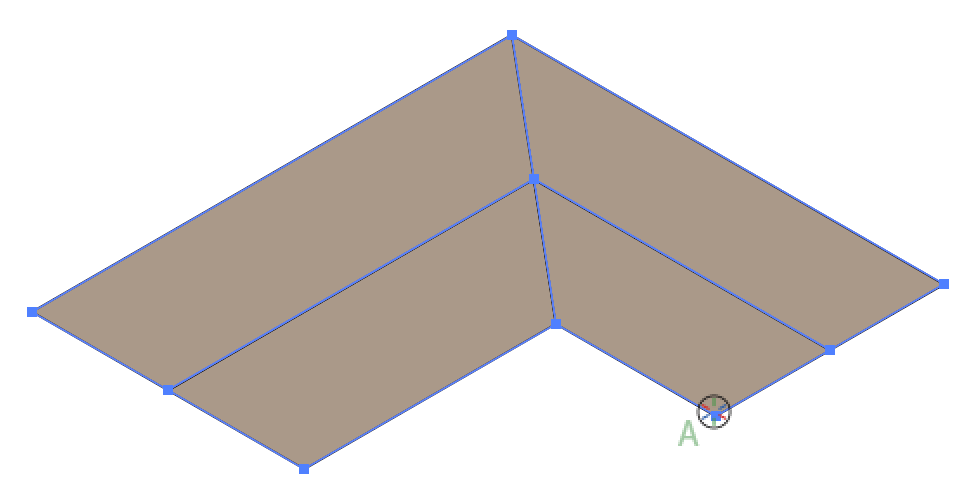
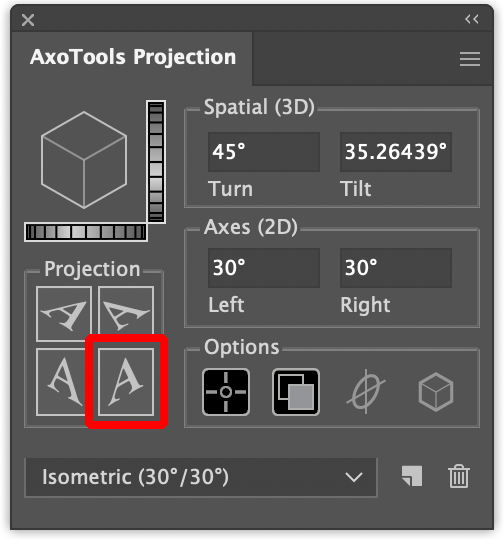
Select the Axo tool from the tool bar.![]()

Click the corner of the top view as shown in the red circle.
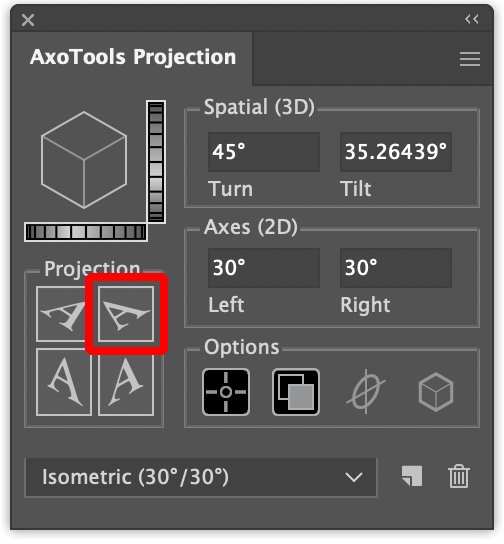
In the dialog that appears, click the “Top (R)” button.
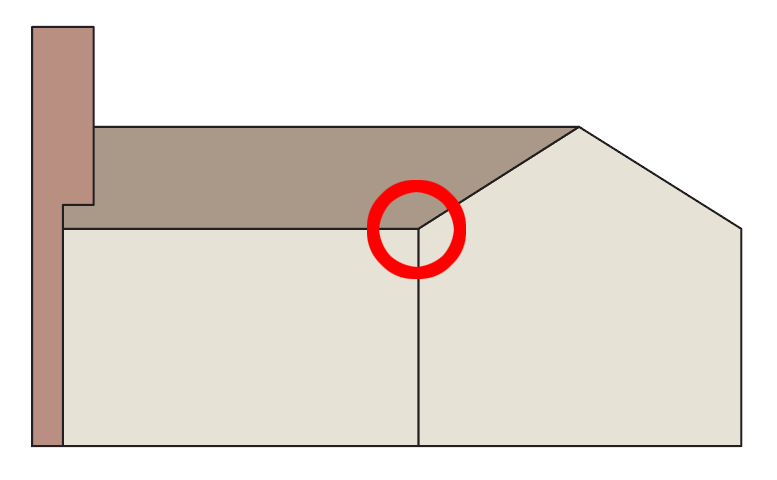
Click the corner of the house circled in red.
In the dialog, click the “Right” button.
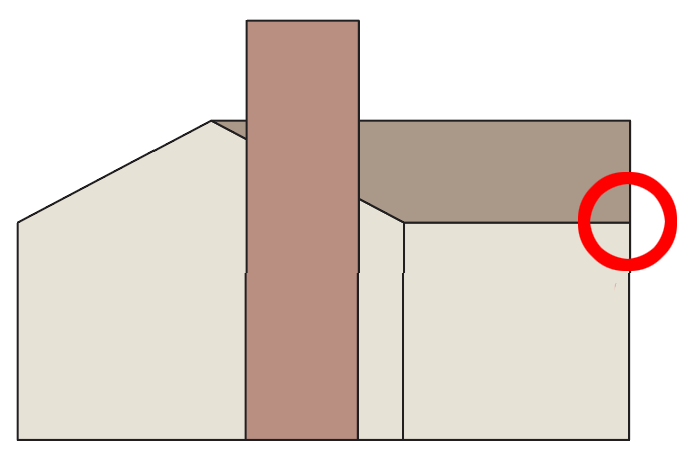
Click the corner of the house circled in red.
In the dialog, click the “Left” button.
Click in the blank area to the right of the three orthographic views.
In the dialog, click the “Axonometric” button.
The places where you set reference points should now show makings as shown here. These markers will only show while the Axo tool is active.
Prepare to project art
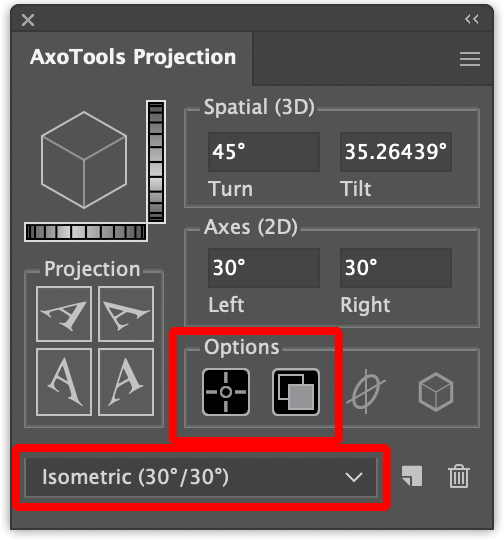
In the Projection panel, select “Isometric” from the preset popup/dropdown menu.
In the Options area, select the first two icons. The first icon enables the use of reference points for moving projected art between ortho and axo views. The second button tells AxoTools to always project a copy of the selected artwork. This is useful when projecting art from ortho views to an axo view because it leaves the ortho art in place as reference for positioning reference points later on.
The other two options will be described in another exercise, but you may want to try enabling the last button to project using shaded fills as described in the documentation for the Draw Settings panel.

OPTIONAL: This step enables shading of the walls to suggest a light source.
In the AxoTools Draw Settings panel, select the last Extrude fill method, “Fill with shaded object color.”
Leave all of the items below it un-checked.
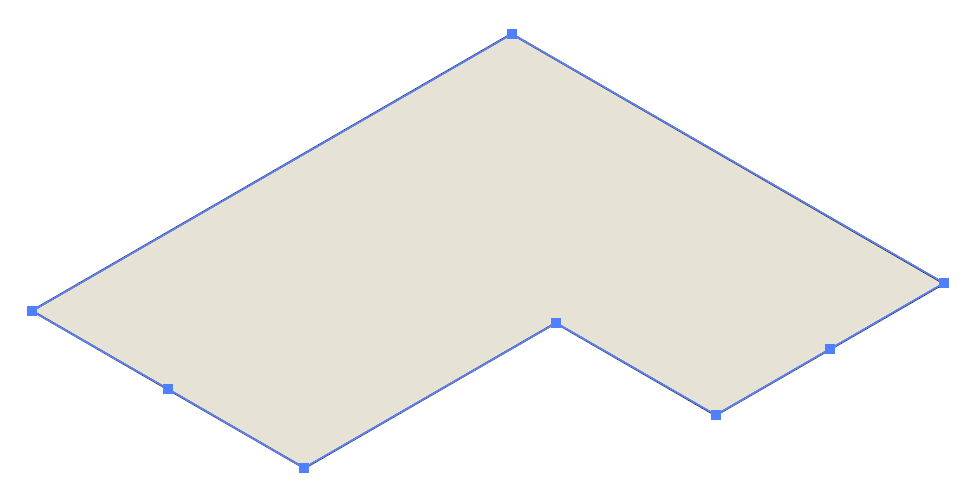
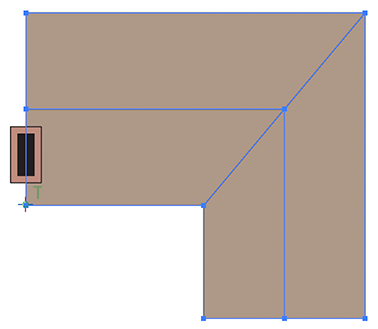 Select the four roof panels.
Click the “Project Top (R)” button in the Projection panel.
The roof is now projected into place, but we won’t need it quite yet. Select Edit > Copy in the menu or press Cmd-C (Mac) or Ctl-C (Windows) to copy it to the clipboard.

Select Illustrator’s Shape Builder tool and drag through all four roof panels to join them to one path.
Select Illustrator’s Eyedropper tool and pick up the light tan color of the house sides.
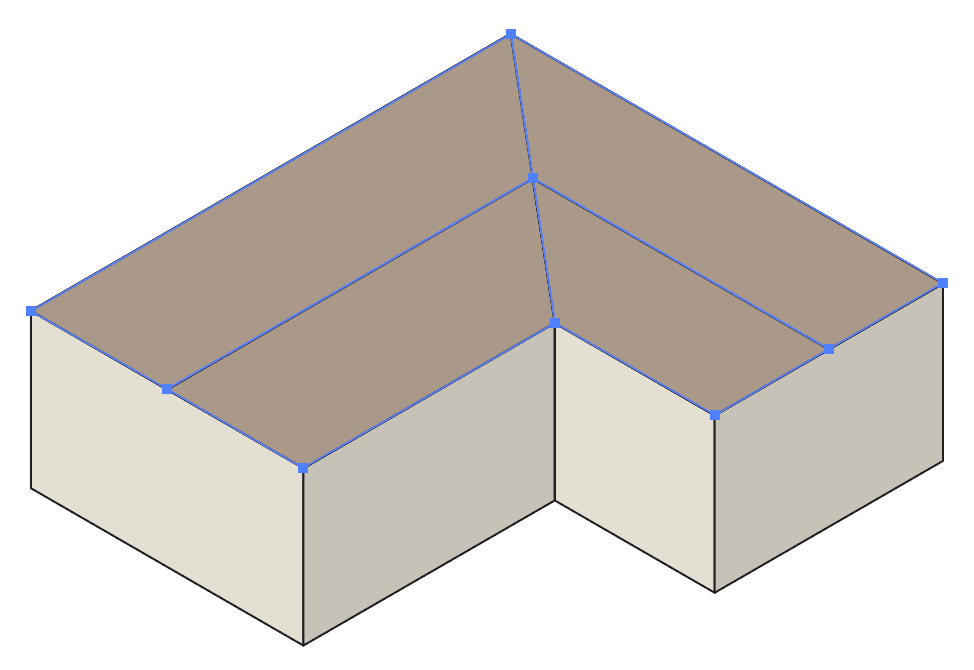
Raise the roof
Drag with the Direct Select tool to select all points along the roof’s top ridge. With the Axo tool, drag vertically in any area that represents the height of the roof peak. In this case, it’s at the far left of the image above. Note that as the cursor moves, so do the selected points.
Project the chimney
With the Axo tool, start moving one of the reference points on an ortho view. After you start dragging, press the Cmd key (Mac) or Ctl key (Windows). Continue dragging it to the frontmost corner of the chimney. Note that other reference points move also. Move the reference point again in another ortho view so that both the horizontal and vertical coordinates point to the chimney top.
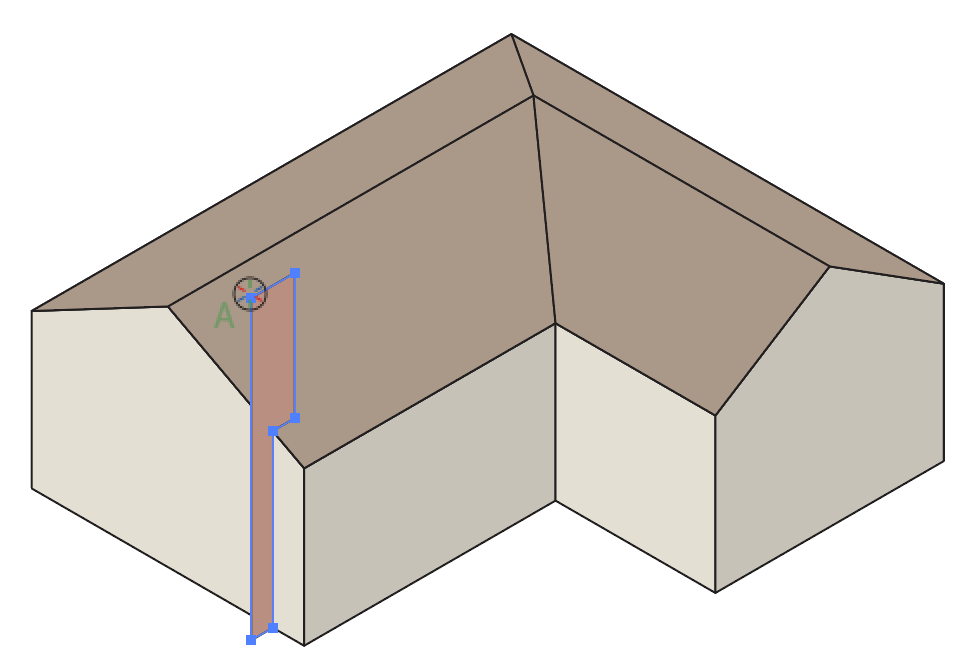
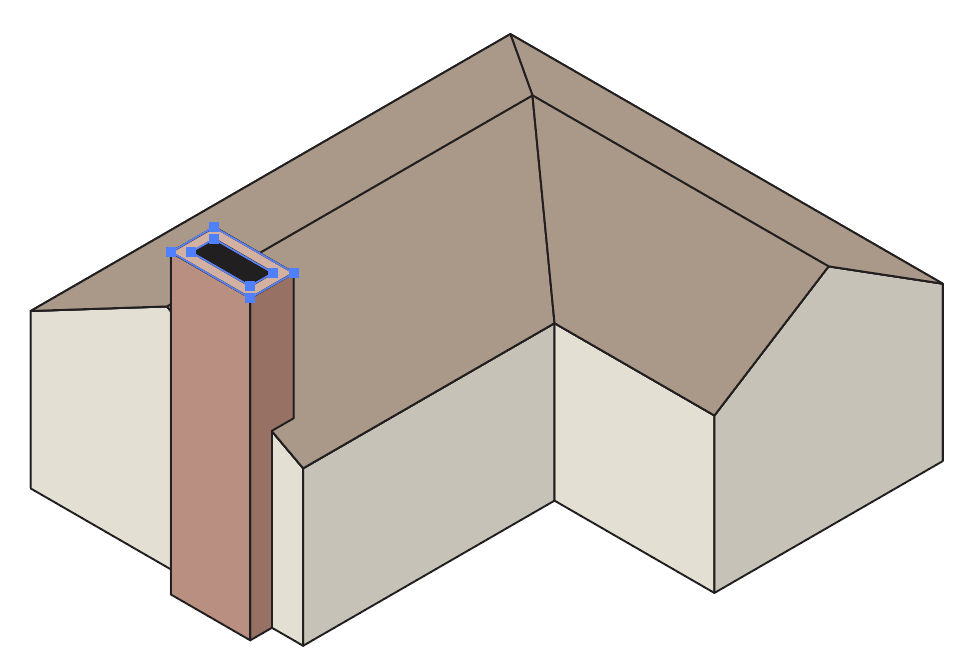
Project the right face of the chimney into place. If necessary, bring it to the front by pressing Shift-Cmd-] (Mac) or Shift-Ctl-] (Windows).
Extrude the chimney

With the Extrude tool, drag right-to-left along the width of the chimney top. Since the chimney’s front face is selected, it will be extruded in the direction corresponding to the mouse drag.