PopArt overview
PopArt is a feature in AxoTools that enables you to store art as a symbol with 3D-like properties such as extruding, rotating, and moving along an axis.
Once dropped into your document, a PopArt symbol can be expanded to any of the current projection’s faces. It is not limited to just isometric, but any projection with a range of 180° tilt and turn.
Place an Illustrator document containing PopArt symbol in Illustrator’s Symbols folder to make its symbols available as with other symbol libraries.
Art can be projected to any axo plane, including an auxiliary projection, or in the art’s original form.
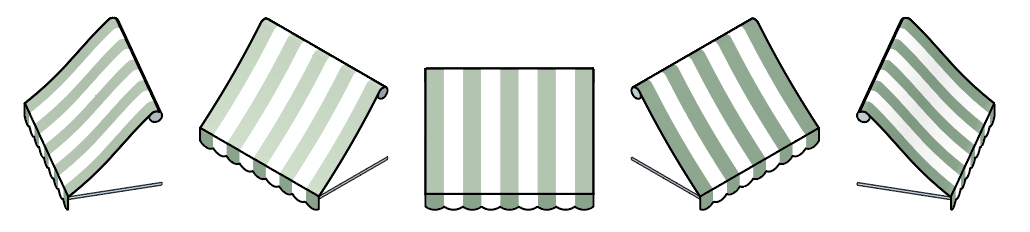
PopArt conforms to any projection, all from one symbol.
Creating PopArt symbols
AxoTools PopArt symbols are most useful when created with the Transformations panel, but can be any simple flat art. When dragged from a symbols panel, simple art will be projected to the chosen axonometric plane, but live Transformations art will also include rotations, movements, and extruding that are defined there.
If your PopArt symbols were created in one document scale and dropped into a document with a different document scale, you can choose to optionally scale them to fit the new document scale ratio (unless you expand it as the original art, in which case it remains at the original size).
Creating simple (flat) PopArt symbols
Select simple art and make a symbol from it. The symbol type should be Static, not Dynamic. Give the symbol a name that includes the phrase “Axo PopArt” in order for AxoTools to recognize it as a symbol you want to project.
Creating PopArt symbols with transformations
Select art containing one or more live art objects created with the Transformations panel. The symbol type must be Static, not Dynamic. No special naming is necessary. As long as the art contains live objects with the Transformations panel, AxoTools will recognize it as PopArt.
Important note
When you create a symbol in Adobe Illustrator, Illustrator immediately turns your selected art into a symbol. AxoTools cannot tell whether you meant to copy art into the Symbols panel or copy a symbol out of the panel, and will display the dialog with PopArt projection options. If you click Cancel or press the Escape key, the symbol will be deleted! If you click the “Original art” button, the symbol will be expanded into the symbol’s original art. This process may move your art to a slightly different location.
Recommended method: Copy your art and make a PopArt symbol from the copy, then cancel when the “Expand to axonometric” dialog appears.
Considerations when making PopArt symbols

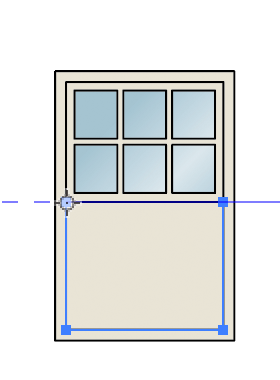
Always create the art in a plain front orientation, never an isometric or axonometric orientation. The Transformations panel can show the art oriented in an axonometric plane.
PopArt is most useful when it can quickly make copies of art made from multiple objects with multiple transformations.
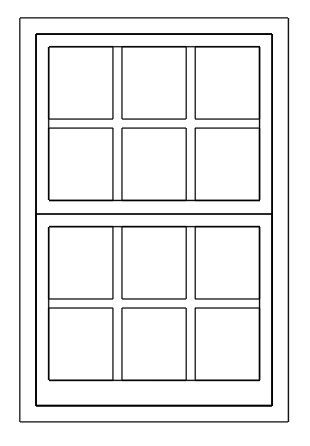
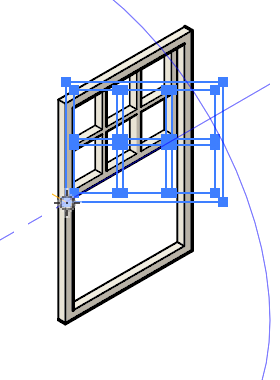
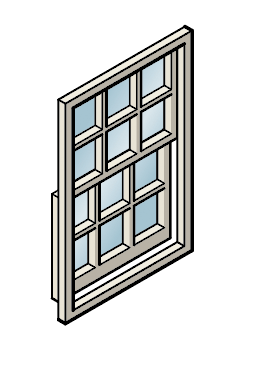
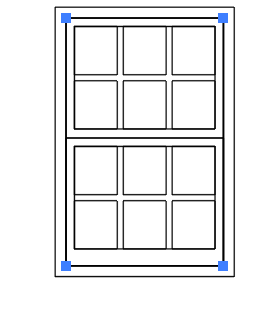
In this example, note that the window frame, the upper sash, lower sash, and glass are at different depths. This will probably be most easily understood by opening the PopArt.ai sample file and examining how it was built, looking at one object at a time.
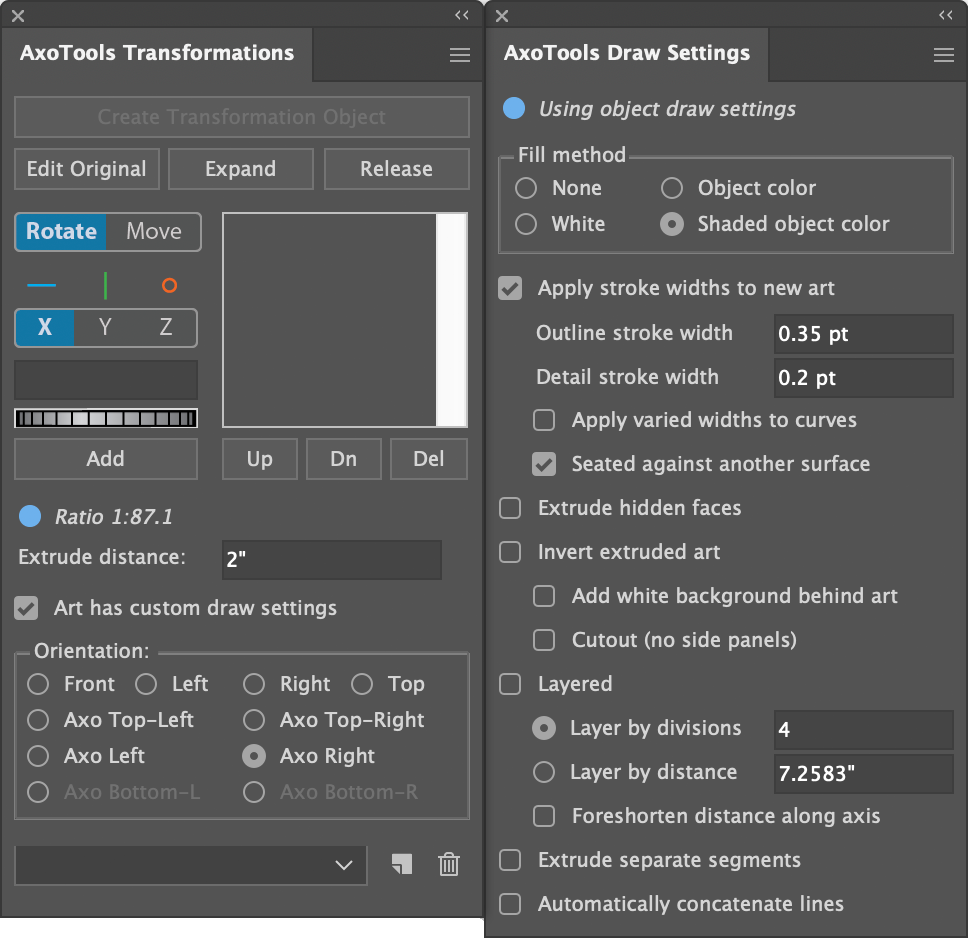
When real-world objects are drawn smaller than actual size, it is often helpful to set your document scale. The structure and furniture examples were drawn (using CADtools) at the model railroad scale of HO (3.5 mm = 1 foot), with a ratio of 1:87.1.
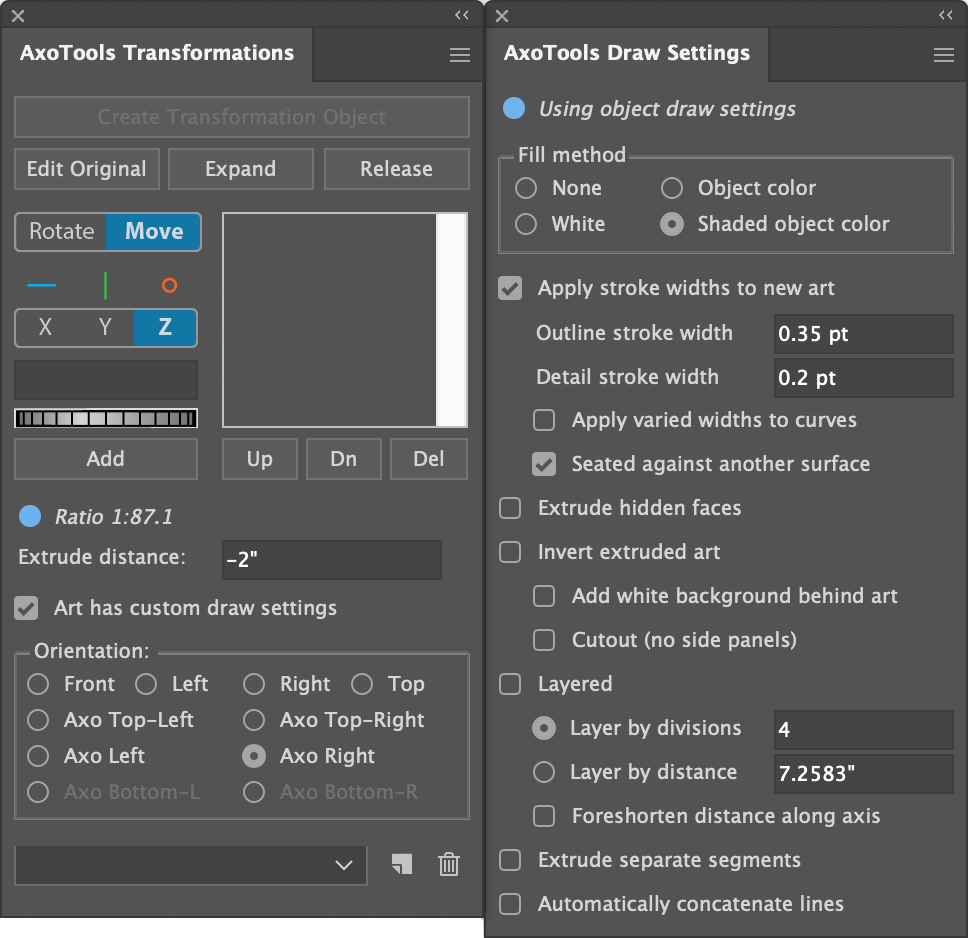
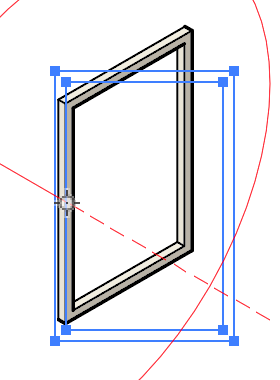
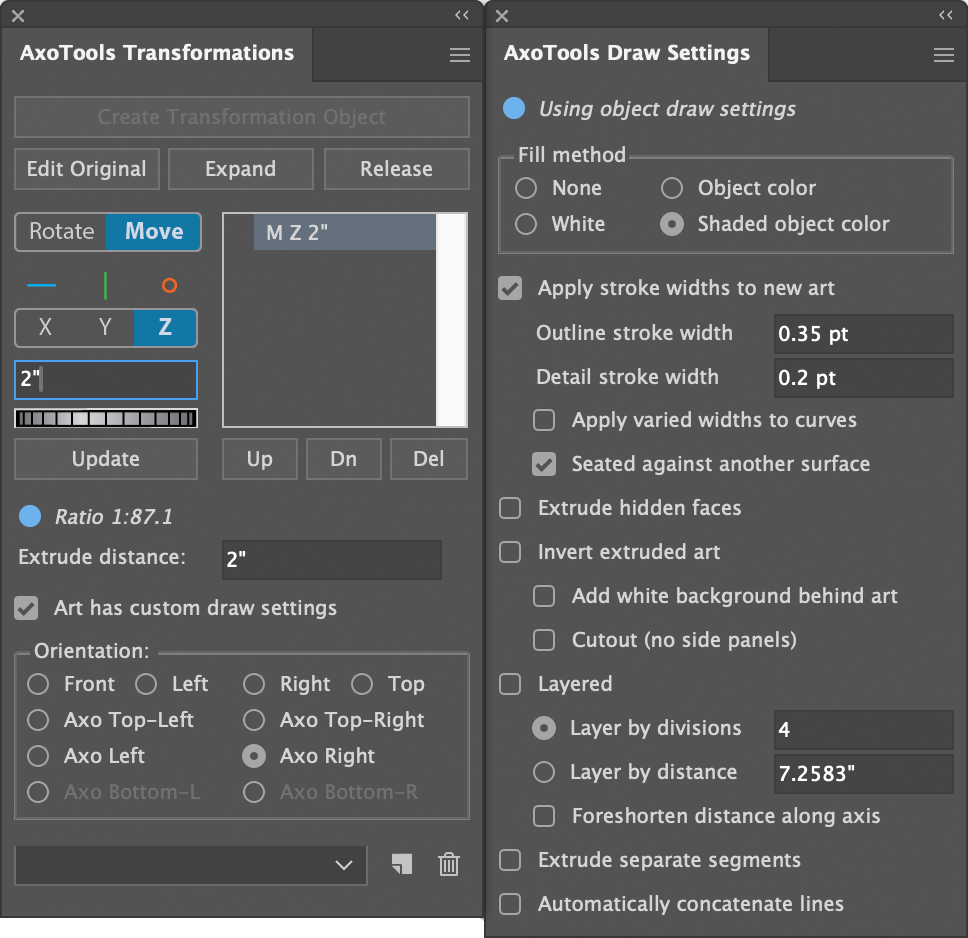
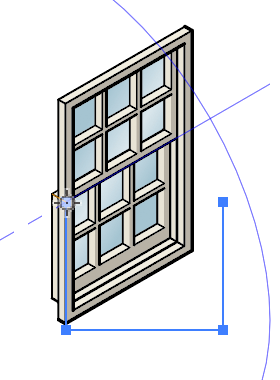
Assue that the wall of the structure is our base surface. Here the window frame is extruded -2 inches, a negative value to pull the thickness toward you.
Also note that “Art has custom draw settings” is checked. The important properties here are the custom stroke widths and the fact that it is set as “Seated against another surface.”
Both panels shown here have a blue dot to indicate the selected object has embedded draw settings.

 Adaptive clipping masks
Adaptive clipping masks automatically adjust to the projection and orientation of its associated Transformations object.
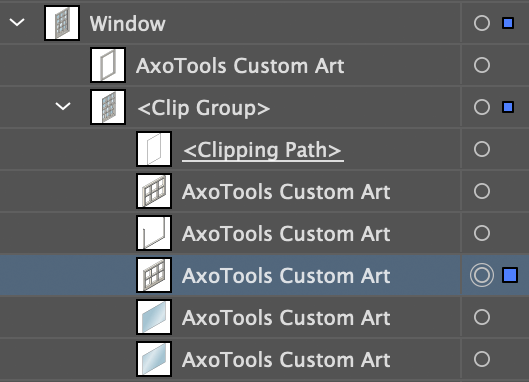
To make this clipping path adaptive, do the following:
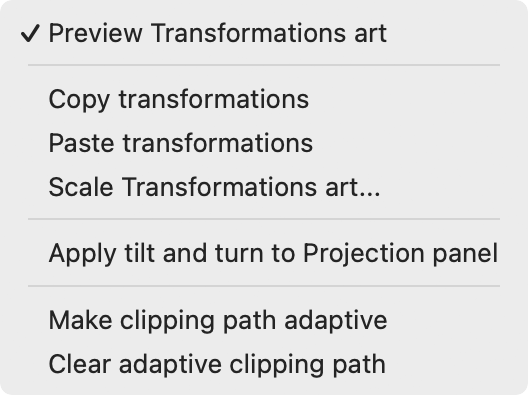
Select one of the sashes, then select “Make clipping path adaptive” from the Transformations panel’s flyout menu.
The art will now remember your original clipping path and each time it needs updating, it will re-create it and project it to match the Transformations object it that made it adaptive.
Your art is now ready to be made into a PopArt symbol.
Note: If any of the live objects being clipped are set to “Inverted” they already contain a clipping mask and should not be masked again, or you will likely get unexpected results.
Tips for building complex art for PopArt symbols
When creating several transformations objects with similar settings, it is often helpful to use the Transformation panel’s flyout menu to copy and paste settings from one object to another rather than re-entering the same information multiple times.
If you are having trouble with an adaptive clipping path, select the associated live object and select “Clear adaptive clipping path” from the Transformations panel’s flyout menu. This allows you to create a fresh clipping path and try again.
If your live art includes movements and decide that it needs to be scaled, select the art and choose “Scale Transformations art…” from the Transformations panel’s flyout menu. A dialog will ask for a percentage by which to scale the art. All art movements will be scaled according to the scale you specify.
It is worth repeating that every live object for your symbol must share a common location for a custom anchor in order for the pieces to automatically project and move in alignment with each other.